No products in the basket.
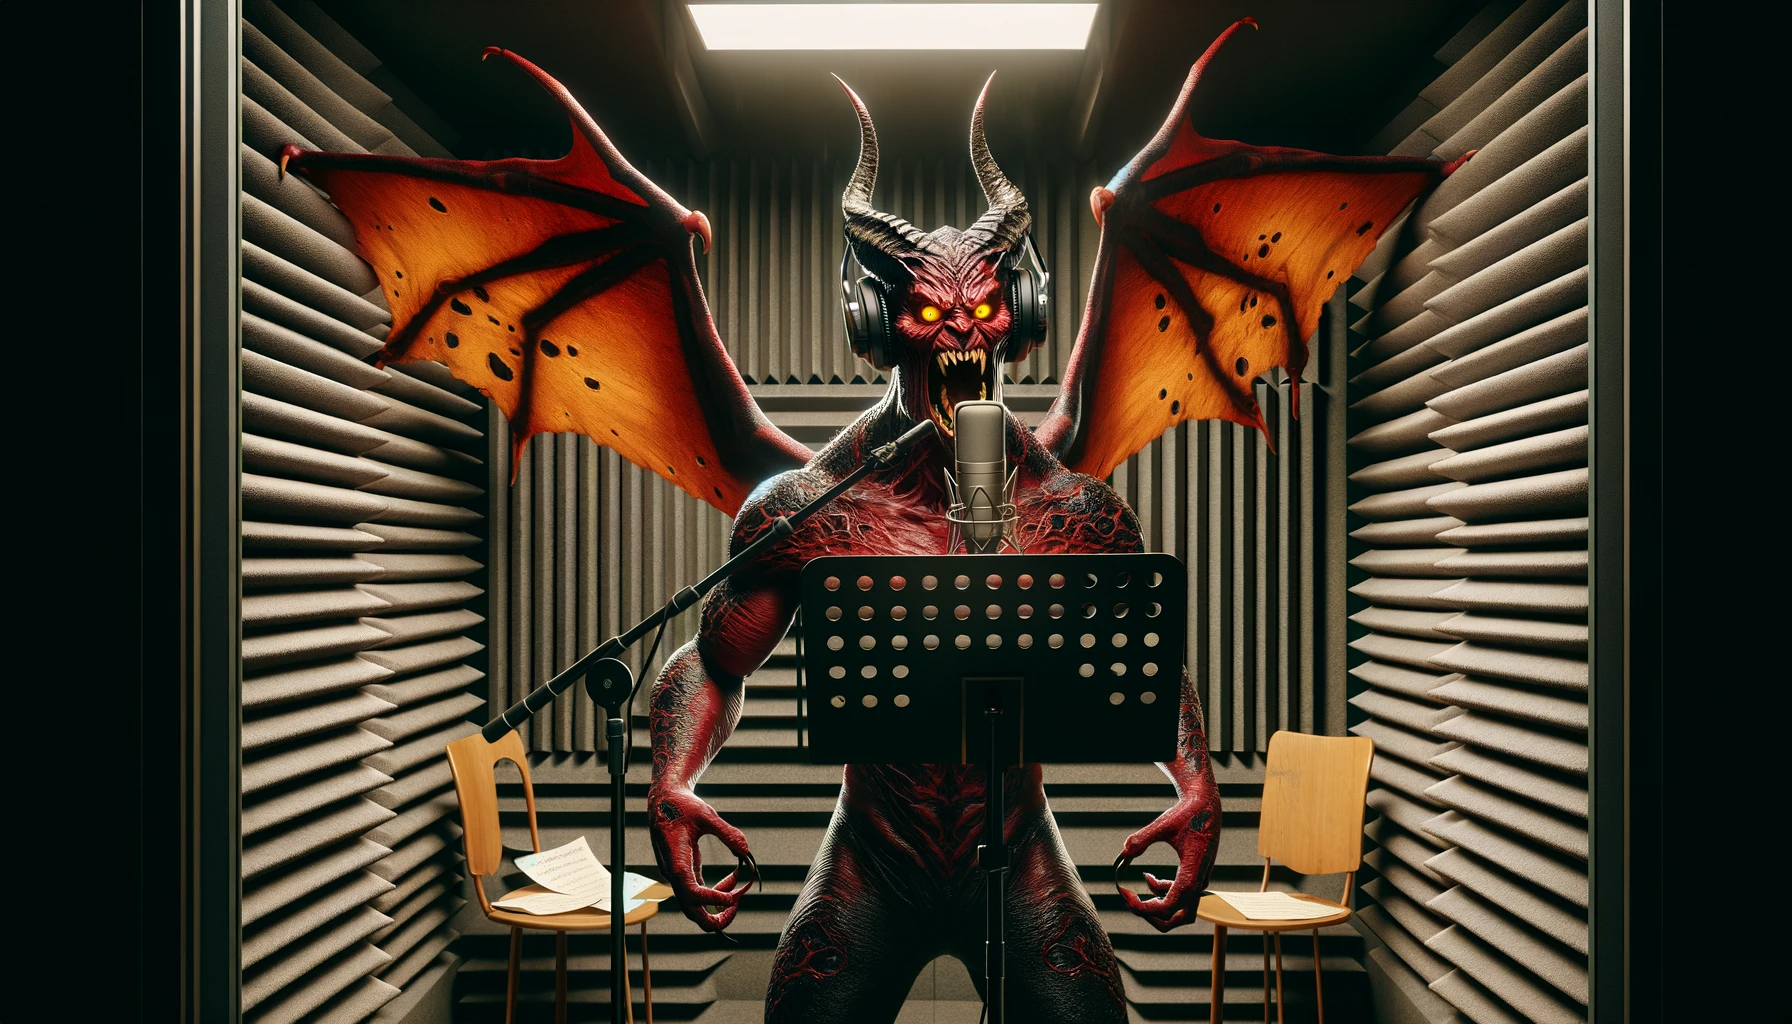
Creating A Monster Voice Sound Effect For Your Sound Designs, Step by Step
If you’re looking to create a powerful monster voice sound effect, there are some key things to consider throughout the process. We go through the four most important considerations when creating monster voice sound effects with this step-by-step guide!
1. Do A Great Performance
Above all else, you need to first make sure you do a great performance. Whether you are performing dialogue, or simply roars, gargles or growls, here are a few things to consider to make your source material the best it can be.
Perform with Varied Dynamics
Use the extent of your vocal capabilities. Capture growls and roars from across your vocal range. This is a super important step for a dramatic and emotional performance.
Focus on Your Breathing
Use light and heavy breathing to portray anger or fear. Breath control is just as important as a strong delivery, to be sure your quiet parts are as interesting to listen to as your loudest monster roars!
Pronounce Dialogue With Clarity
For spoken dialogue, pronounce your words clearly. Adding effects later will colour and add texture to your recordings, so start with the clearest audio you can for the best starting point.
You are already on your way to unleashing your inner demon in the recording booth!
2. Capture A High-Quality Recording
It’s equally important to record your monster voice performance to a high-quality! Here are a few tips:
Set a Well-Balanced Input level
This is an important stage, as we don’t want to ruin our recording by it clipping into the red! So roar into your microphone at your loudest delivery, then reduce your input levels until it’s safely in the yellow. This gives you a strong signal, without distorting it. Use the image below as a reference, and aim for the -12dB to – 6dB area.

Explore Microphone Distance
Experiment with the distance to the microphone and input levels for a strong signal that doesn’t distort.
The closer to the microphone you are, the more present and direct your performance will be. The further you are from the microphone, the more reverberant reflections within the room will be heard. Use this to your advantage when designing your monster voices, and decide for yourself which is more appropriate for your recording.
Record at a High Sample Rate
Your recording interface records by taking a snapshot (or sample) of audio a chosen number of times per second. This is known as a sample rate. Sample rates vary, but an ideal sample rate is 48KHz for a smooth and high-quality recording and is the standard for post-production.
If you’re pitch-shifting down, try recording at an even higher sample rate if you can, such as 96KHz. This helps because higher sample rates capture more high-end frequencies. Therefore, when you pitch down, your recordings are clearer and less muffled
Record at a High Bit Depth
A higher bit depth provides more dynamic range, providing better control and reducing the risk of clipping the signal. Avoid recording at 16-bit and instead work at a minimum of 24-bit, as this records a lot more amplitude information.
3. Do Some Early Mixing
Once you have recorded a dynamic performance, we can smooth things out and improve them before adding our monster voice effects. Time to load up Dehumaniser 2, our all-in-one monster voice processing plugin.
We are going to add compression and EQ before we get stuck in with shaping our monster voices.
Compression
Compression is a form of dynamic control which smooths out loud and quiet parts. Your more subtle roars need to be heard just as much as your loud ones, and compression helps you achieve this.
De-Essing
De-essing is a specific type of dynamic control which only targets highly sibilant frequencies, such as S and T sounds. You can control these sounds using a de-esser to make sure your sibilant sounds aren’t as shrill and blend in with the rest of your recording.
EQ
Finally, EQ is used to boost or remove certain frequencies from a recording. Look at a spectrum of your voice, see where your most resonant frequencies are, then reduce them for a smoother more balanced recording.
Dehumaniser 2 has Compression and EQ built into every effect module, providing complete and total control of your designs at every stage.
4. Add Creative Effects to Your Monster Voice Sound Effect
Now you have a great performance and a high-quality recording that has been compressed and shaped, it’s time to have some fun bringing these monsters to life! Here are some of the most important effects to add to your monster voice recordings.

Pitch Shifting
Pitch shifting is the main ingredient of any monster voice. Pitch the vocal down down for deep, boomy monsters, or down down for small monsters.
Or combine pitch shifting up and down together for aliens, spirits or demons
Texture
Once you have set the pitch, you can add new and interesting textures and timbres using various Dehumaniser 2 modules; Flanger/chorus, Vocoder, Scrubbing Convolution, Spectral Shift and more.
Experiment with scrubbing convolution and noise generation for demons and roars, or vocoders and ring modulators for sci-fi monsters.
Bonus: Include Some Additional Effects
Distortion
Multiband distortion lets you add grit and harmonics to certain parts of your design, without affecting others. Experiment to find interesting results, but be careful not to overdo it! Distortion is added just to enhance and add some richness to your monster voice effect, not completely decimate the recording.

Multiband Compression
Similarly, you can control the dynamics of particular frequencies with multiband compression. Bring presence and texture to your pitched down recordings to restore the higher information, or make your bass frequencies as loud as your mids and highs.

Reverb
Reverb is a classic effect which helps you to place your monsters in an echoey space to add size and power. Experiment with different reverb sizes and styles to suit your recordings, or run Dehumaniser 2’s Vocoder module in noise mode, and tailor the attack and release for a reverb-like effect.

Character & Layering
Adding layers for additional character is a great way to add power and excitement to your performance. Layer multiple takes; experiment with effects; add non-vocal sound effects such as metal, scratches, or animal roars.
You could also run Dehumaniser 2 into Reformer Pro, which will follow the shape and performance of your monster roars, with any sound effects from your library.